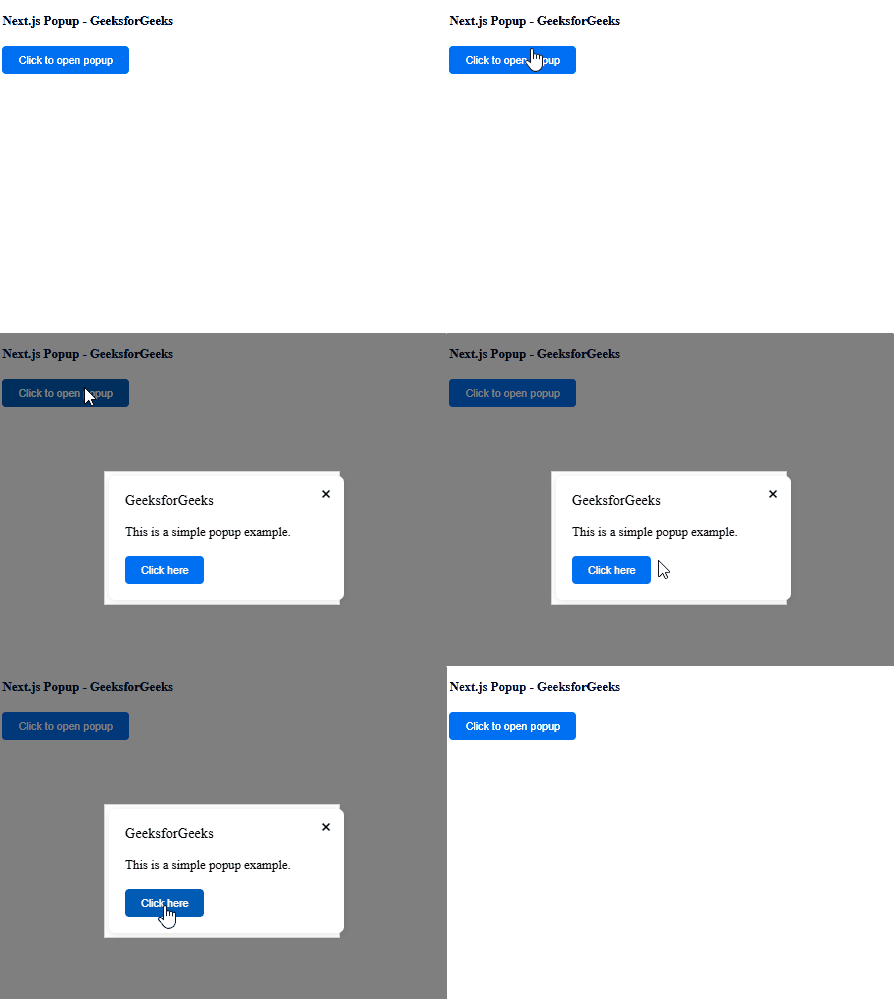
A popup is a small dialog box that appears on top of the current page to display important information or request user interaction. In Next.js, popups can be easily created using the reactjs-popup package.
Approach: To add a popup in a Next.js application, we are going to use the reactjs-popup package. This package allows us to easily create modal popups. First, install the package, then import the Popup component and use it inside the page.
Steps to Add Popup in Next.js
Prerequisite: Before following this tutorial, make sure you have already created a Next.js project. If not, refer to the Next.js Installation and First Application article.
Step 1: Install the required package
Now we will install the reactjs-popup package using the below command:
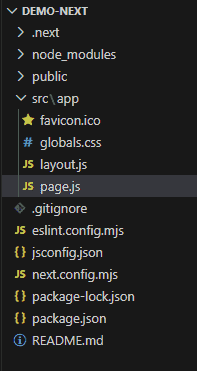
npm install reactjs-popupProject Structure: It will look like this.
Step 2: Adding Popup
Open the src/app/page.js file and add the following code.
// File Path: src/app/page.js
"use client";
import Popup from "reactjs-popup";
import "reactjs-popup/dist/index.css";
export default function Home() {
    return (
        <main
            style={{
                display: "flex",
                justifyContent: "center",
                alignItems: "center",
                height: "100vh",
            }}
        >
            <Popup
                trigger={
                    <button
                        style={{
                            padding: "10px 20px",
                            cursor: "pointer",
                        }}
                    >
                        Open Popup
                    </button>
                }
                modal
                nested
            >
                {(close) => (
                    <div
                        style={{
                            padding: "20px",
                            textAlign: "center",
                            background: "#fff",
                            borderRadius: "8px",
                        }}
                    >
                        <h2>Welcome!</h2>
                        <p>
                            This is a popup created in
                            Next.js using
                            reactjs-popup.
                        </p>
                        <button
                            onClick={close}
                            style={{
                                marginTop: "15px",
                                padding: "8px 16px",
                                cursor: "pointer",
                            }}
                        >
                            Close
                        </button>
                    </div>
                )}
            </Popup>
        </main>
    );
}
Explanation: In the above example, we first import the Popup component from the installed package. Then, we use the Popup component with a button as its trigger. When the button is clicked, the popup dialog is displayed. Clicking the Close button closes the popup.
Step 4: Run the application
npm run devOutput: